DoMyOwn has transformed how homeowners approach pest problems. Instead of calling an exterminator every time ants march across the counter or roaches dart behind the fridge, more people are grabbing professional-grade products and handling the job themselves. The DIY pest control market has grown substantially, driven by rising service costs and the availability of commercial products once reserved for licensed pros. This guide walks through everything needed to build an effective pest management strategy using DoMyOwn products and methods, from selecting the right treatments to avoiding the mistakes that waste time and money.
Table of Contents
ToggleKey Takeaways
- DoMyOwn pest control products offer professional-grade formulations at a fraction of the cost, with treatment expenses running $50–$150 annually compared to $400–$1,200 for professional services.
- Accurate pest identification is critical to selecting the right treatment, as different species of ants, roaches, and other insects require different active ingredients and application methods.
- A structured pest management plan using DoMyOwn tools should include establishing a 3-foot treatment perimeter, addressing harborage areas, and scheduling quarterly reapplications to maintain residual protection.
- Common mistakes like over-application, ignoring label instructions, and treating only visible pests undermine effectiveness; following dilution ratios precisely and focusing on nests and entry points delivers better results.
- Integrated Pest Management combines DoMyOwn chemical treatments with sanitation, exclusion, and habitat modification—treating the root cause prevents recurring infestations rather than just addressing symptoms.
- Proper safety gear, including nitrile gloves, eye protection, and respirators, is essential when handling concentrated insecticides, and pet safety requires thorough drying before animals re-enter treated areas.
What Is DoMyOwn Pest Control?
DoMyOwn is an online retailer specializing in professional-grade pest control products for homeowners and property managers. Founded in 2003, the company bridges the gap between consumer-grade bug sprays found at big-box stores and the commercial treatments used by licensed pest control operators.
The platform offers over 6,000 products, including insecticides, rodenticides, baits, traps, and application equipment. Unlike typical retail pest products that contain diluted active ingredients, DoMyOwn carries concentrated formulations identical to what professionals use. Products like Termidor SC (fipronil), Suspend SC (deltamethrin), and Talstar P (bifenthrin) provide the same active ingredients found in commercial treatments, but at significantly lower per-application costs.
Every product page includes detailed instructions, mixing ratios, safety data sheets, and application videos. The site also features how-to guides organized by pest type, ants, termites, bed bugs, mosquitoes, and dozens more. Customer support includes licensed pest control experts who can answer technical questions about treatment protocols.
One key distinction: DoMyOwn sells products, not services. Buyers take full responsibility for proper identification, application, and safety compliance. Some products require adherence to EPA labeling, and certain restricted-use pesticides may have state-specific purchasing limitations.
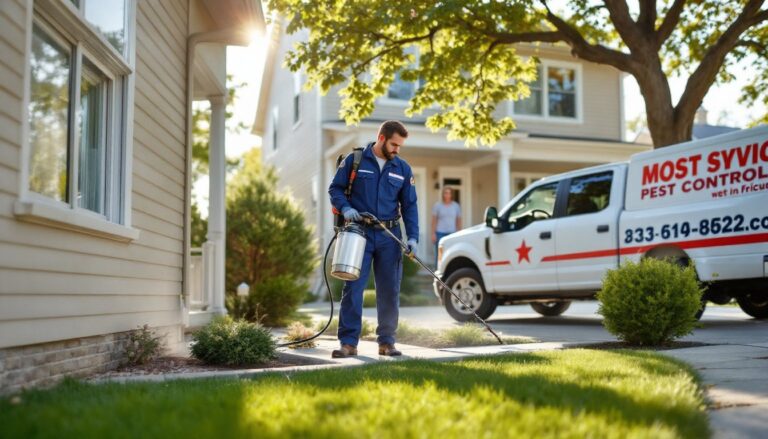
Why Choose DIY Pest Control Over Professional Services?
The cost difference is the primary driver. A single professional pest control visit typically runs $150–$300 for a standard home treatment, with quarterly service contracts ranging from $400–$1,200 annually. Treating the same home with DoMyOwn products often costs $50–$150 per year once equipment is purchased, assuming quarterly applications.
For example, a gallon of Talstar P costs around $60 and treats up to 96,000 square feet when mixed at typical label rates, enough for an entire season or more for most homes. Compare that to four professional visits at $150 each, and the savings add up quickly.
Control and flexibility matter too. Homeowners can treat problem areas immediately rather than waiting days or weeks for an appointment. General pest control strategies become more responsive when the products and knowledge are already on hand. There’s no need to clear out pets, wait for technicians, or adjust schedules around service windows.
But, DIY pest control requires upfront learning and ongoing effort. Misidentifying a pest can lead to ineffective treatments, using ant bait meant for sugar-feeding ants won’t touch grease-feeding species, for instance. Application errors, like spraying too much or too little, waste money and reduce efficacy. Structural pest issues like termites or bed bugs often demand professional expertise, specialized equipment, or fumigation that DIYers can’t replicate.
Professional services may still be the better choice for severe infestations, warranty coverage, or situations requiring specialized knowledge. But for routine maintenance and common household pests, DIY methods using professional-grade tools deliver comparable results at a fraction of the cost.
Essential Products and Tools for Effective Pest Management
Professional-Grade Insecticides and Treatments
Selecting the right product depends on the target pest, treatment location, and desired residual effect. Most DoMyOwn treatments fall into several categories:
Liquid insecticides form the backbone of perimeter treatments. Bifenthrin-based products like Talstar P provide broad-spectrum control against ants, spiders, roaches, and other crawling insects, with residual effects lasting 30–90 days outdoors. Deltamethrin products such as Suspend SC work well for indoor crack-and-crevice treatments and have low odor. Fipronil products like Termidor SC excel at termite prevention and elimination but require careful application near soil.
Concentrate formulations require dilution. A typical mixing ratio is 0.5–1 oz per gallon of water, though label instructions vary by pest and application method. A 1-gallon pump sprayer holds enough for most perimeter treatments around a standard home.
Granular insecticides cover larger outdoor areas efficiently. Products containing bifenthrin or lambda-cyhalothrin treat lawns, mulch beds, and gravel areas where liquid sprays are impractical. A broadcast spreader distributes granules evenly, and light irrigation or rainfall activates the product.
Baits target specific pests through ingestion. Ant baits vary by species, gel baits for indoor ants, granular baits for outdoor colonies. Roach control strategies often combine bait stations with residual sprays for faster knockdown. Rodent baits require tamper-resistant bait stations to prevent accidental exposure to children or pets.
Insect growth regulators (IGRs) like Gentrol disrupt reproduction cycles, particularly effective against roaches and fleas. IGRs don’t kill adult insects quickly but prevent population rebounds.
Application Equipment You’ll Need
Proper equipment ensures accurate application and better coverage. Here’s what most DIYers should have:
Pump sprayers come in 1-gallon, 2-gallon, and 4-gallon capacities. A Chapin or Solo sprayer with adjustable nozzles handles most residential treatments. Look for sprayers with Viton seals, which resist chemical degradation better than rubber.
Hose-end sprayers treat large perimeter areas quickly but are less precise for mixing ratios. They’re best suited for outdoor barrier treatments where slight concentration variations don’t matter.
Hand dusters apply insecticidal dust into wall voids, attics, and crawl spaces. Products like CimeXa (silica gel) or Delta Dust (deltamethrin) work well in dry, hidden areas where liquids can’t reach.
Broadcast spreaders distribute granular products evenly across lawns and landscape beds. A standard rotary spreader covers 5,000–10,000 square feet efficiently.
Safety gear is non-negotiable. Always wear nitrile gloves (not latex, which degrades with some chemicals), safety glasses, and a respirator with organic vapor cartridges when mixing or applying concentrated insecticides indoors. Long sleeves, pants, and closed-toe shoes prevent skin contact.
Measuring tools matter. A set of graduated cylinders or measuring spoons ensures accurate mixing, guessing leads to under-application (ineffective treatment) or over-application (wasted product and potential health risks).
Step-by-Step Guide to Creating Your Pest Control Plan
Effective pest management requires planning, not just spraying when bugs appear. Here’s how to build a treatment protocol:
1. Identify the pest accurately. Don’t assume all small brown bugs are the same. Ants alone have dozens of species with different food preferences and nesting habits. Capture a specimen, take a clear photo, and use identification resources on DoMyOwn or contact their support team. Proper identification drives product selection.
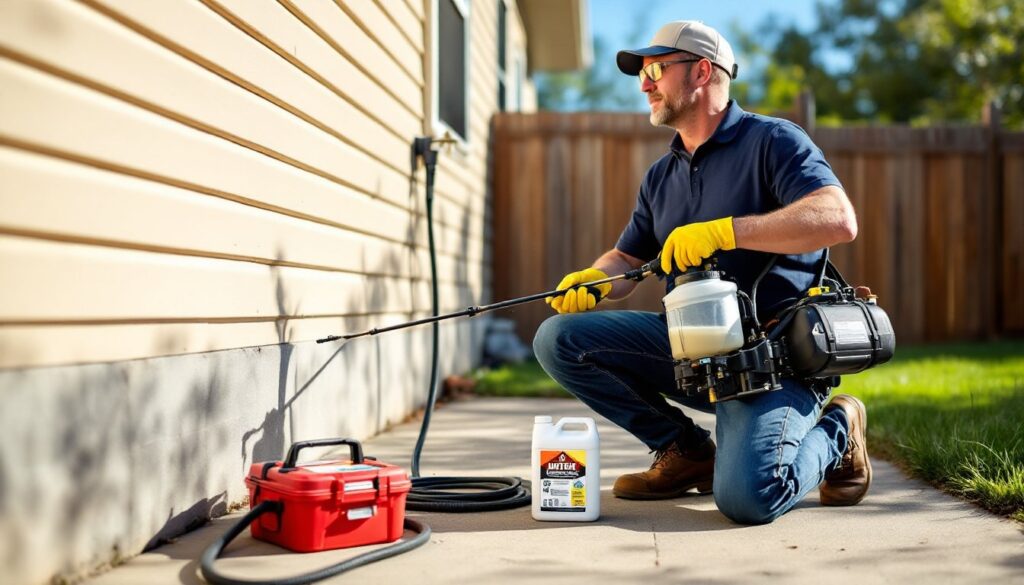
2. Establish a treatment perimeter. For most homes, a 3-foot barrier around the foundation prevents pest entry. Spray liquid insecticide along the base of exterior walls, covering the foundation and 1–2 feet up the wall surface. Treat entry points like doors, windows, utility penetrations, and weep holes.
3. Address harborage areas. Pests need food, water, and shelter. Eliminate standing water, seal cracks with caulk or expanding foam, and reduce clutter in basements and garages. Treating without sanitation is like bailing water from a sinking boat, it never ends.
4. Apply interior treatments strategically. Most indoor applications are crack-and-crevice treatments, not broadcast sprays. Use a pin-stream nozzle to apply product along baseboards, under appliances, inside cabinet voids, and around plumbing penetrations. Avoid spraying on surfaces where food is prepared or where children and pets have direct contact.
5. Schedule quarterly treatments. Residual insecticides break down over time due to UV exposure, rain, and microbial action. Reapply perimeter treatments every 90 days to maintain protection. Spring and fall are critical, pests seek indoor shelter as temperatures shift. Understanding seasonal rodent patterns helps time treatments effectively.
6. Monitor and adjust. Place monitoring stations or sticky traps in areas where pests have been seen. If activity continues two weeks after treatment, reassess the product, application method, or pest identification. Resistance is rare in residential settings, but application errors are common.
7. Keep records. Note what products were used, when, where, and at what dilution rates. This helps track what works and ensures compliance with label instructions. If a problem persists, records help pest management professionals diagnose the issue quickly.
Common Mistakes to Avoid When Treating Your Home
Even with the right products, application errors undermine results. Here’s what trips up most DIYers:
Using the wrong product for the pest. Not all insecticides work on all bugs. Treating cockroaches requires different active ingredients than treating ants or fleas. Read labels carefully, bifenthrin is excellent for perimeter work but won’t touch bed bugs, which require contact killers or heat treatment.
Over-application. More isn’t better. Applying insecticide at 10x the label rate doesn’t kill pests faster, it wastes money, increases exposure risk, and can harm beneficial insects. Follow dilution ratios precisely.
Under-application. Conversely, spraying too lightly or skipping areas leaves gaps in coverage. Pests find untreated zones and survive. Use a consistent spray pattern and adequate volume, most perimeter treatments require 1 gallon per 1,000 square feet.
Ignoring label instructions. Every pesticide label is a legal document with specific use directions, safety requirements, and application restrictions. Applying a product labeled for outdoor use indoors, or using it on a pest not listed on the label, violates federal law and voids liability protections.
Treating visible pests only. Spraying bugs on sight might kill those individuals, but it doesn’t address the nest, breeding site, or entry points. Focus treatments on where pests live and travel, not just where they’re seen.
Skipping PPE. Concentrated insecticides are not safe for direct skin contact or inhalation. Always wear gloves, eye protection, and respiratory gear when handling concentrates. Even “low-toxicity” products can cause irritation or sensitization.
Applying in rain or extreme heat. Rain within 24 hours can wash away freshly applied treatments before they bond to surfaces. High temperatures (above 85°F) can cause some products to volatilize or degrade faster. Check the forecast and treat during mild, dry conditions.
Mixing products without knowledge. Combining different insecticides or adding adjuvants without understanding compatibility can reduce efficacy or create hazardous reactions. Stick to single products unless the label explicitly allows tank mixing.
Forgetting pet safety. If households have pets, products must dry completely before animals return to treated areas. Some treatments, especially those containing pyrethroids, are toxic to cats if ingested while wet. Remove pet food and water bowls before treating.
Not addressing the root cause. If German roaches keep appearing, treating them without fixing the moisture problem under the sink or sealing gaps around pipes is futile. Integrated Pest Management (IPM) combines chemical treatments with sanitation, exclusion, and habitat modification.
By avoiding these pitfalls and following a structured treatment plan using proven strategies, DIY pest control delivers reliable, long-term results. The initial learning curve is steep, but once the fundamentals are in place, maintaining a pest-free home becomes routine.