Pests don’t respect property lines or office hours. When a line of carpenter ants starts streaming through your kitchen at 11 p.m., or you hear scratching in the attic on a Sunday morning, you need a game plan, not a phone tree. Building a “home team” approach to pest control means combining smart prevention, routine maintenance, and knowing which tools and tactics work for specific invaders. This guide walks homeowners through the equipment, strategies, and seasonal tasks that keep bugs and rodents at bay year-round, while being clear about when professional backup is the better call.
Table of Contents
ToggleKey Takeaways
- A home team pest control approach emphasizes prevention, routine maintenance, and shared household responsibility rather than relying solely on reactive exterminator visits.
- Essential pest control tools include caulk, foam sealant, snap traps, diatomaceous earth, and proper safety gear—a basic kit costs $50–$150 and addresses most common pest scenarios.
- Room-specific prevention strategies work best: kitchens need strict sanitation and airtight storage, basements require moisture control, and attics demand regular vent inspections and entry point sealing.
- Seasonal maintenance tasks protect your home year-round—spring perimeter treatments, summer mosquito checks, fall entry sealing, and winter monitoring of overwintering pests prevent infestations before they start.
- Call a professional pest control service for structural damage, widespread infestations, stinging insects, inaccessible rodents, or when chemical treatments are needed in sensitive areas; handle isolated incidents and preventive maintenance yourself.
Why a Team Approach Works Best for Home Pest Control
Thinking of pest control as a team effort, rather than a one-time exterminator visit, shifts the focus from reactive to proactive. Effective management involves everyone who lives in the home, along with routine tasks spread across the calendar and different areas of the property.
A team mindset means splitting responsibilities. One person might handle outdoor perimeter checks and gutter cleaning, while another manages pantry inspections and trash schedules. Kids can learn to spot signs early, shed skins, droppings, or chewed packaging, and report them before a minor issue becomes an infestation.
Consistency beats heroics. Weekly walkthroughs of basements, attics, and crawl spaces catch problems when they’re manageable. Monthly caulking and weatherstripping checks close entry points before pests exploit them. And keeping a shared log, dates, observations, treatments applied, helps track patterns and measure what’s working. Many homeowners find success with general prevention methods that build on routine inspection habits.
This approach also reduces reliance on chemical treatments. When exclusion, sanitation, and mechanical traps form the first line of defense, pesticides become a targeted backup rather than the default.
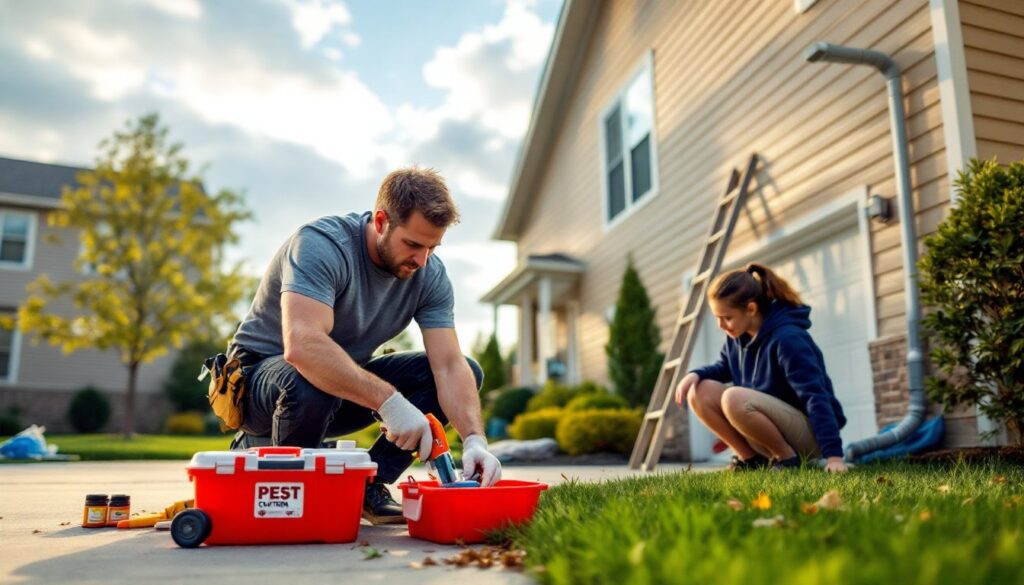
Essential Tools and Products Every Homeowner Needs
A well-stocked pest control kit doesn’t require a truck full of commercial-grade equipment, but it should cover the common scenarios most homes face. Start with the basics and add specialty items as specific pests appear.
Core Tools:
- Caulk gun and silicone caulk – Seal gaps around pipes, vents, and foundation cracks. Choose 100% silicone for exterior use: it flexes with temperature changes and lasts longer than acrylic blends.
- Foam sealant – For larger voids (½ inch or more) around utility penetrations. Look for products labeled pest-block or rodent-proof: they contain deterrents rodents won’t chew through.
- Handheld flashlight and headlamp – Inspecting dark corners, crawl spaces, and attics requires hands-free light. LED models with at least 200 lumens work best.
- Putty knife and wire brush – Prep surfaces before caulking: adhesion fails on dirty or flaking substrates.
- Snap traps and glue boards – Mechanical traps remain the gold standard for rodent management. Snap traps kill quickly: glue boards work in tight spaces but should be checked daily.
- Diatomaceous earth (food-grade) – A non-toxic powder that damages insect exoskeletons. Apply thin layers in wall voids, behind appliances, and along baseboards. Wear a dust mask during application.
- Handheld sprayer (1–2 gallon) – For applying liquid treatments to exterior foundations, door thresholds, and garage floors. Pressurized models give better coverage than trigger bottles.
Targeted Products:
- Bait stations – Enclosed units for ants, roaches, or rodents. They protect bait from kids and pets while allowing pests to enter. Replace baits every 90 days or per label instructions.
- Insecticidal dust – Boric acid or silica gel formulations for wall voids and attics. They remain effective for months and won’t break down in moisture.
- Weatherstripping and door sweeps – Gaps under doors are highways for insects. Install ⅜-inch rubber sweeps on exterior doors and replace worn stripping around garage doors annually.
Safety Gear:
Always wear nitrile gloves when handling traps, baits, or chemical treatments. Use safety goggles when applying dusts or sprays overhead. A half-face respirator with P100 filters is necessary when treating enclosed spaces like crawl spaces or attics with poor ventilation.
Many homeowners appreciate combining traditional methods with eco-friendly repellent options that minimize chemical use around living areas.
Room-by-Room Pest Prevention Strategies
Different areas of a home attract different pests, and each requires tailored tactics. Focus prevention efforts where food, moisture, and shelter overlap.
Kitchen and Pantry Protection
Kitchens offer everything pests need: crumbs, spills, warmth, and water. Ants, roaches, and pantry moths thrive here if sanitation slips.
Daily habits:
- Wipe counters and sweep floors after meals. Even invisible residue attracts scouts.
- Store dry goods in airtight containers, glass jars or heavy-duty plastic bins with locking lids. Cardboard and thin plastic bags won’t stop pantry moths or rodents.
- Empty trash daily and use bins with tight-fitting lids. Rinse recyclables before storing them.
Monthly maintenance:
- Pull out appliances and vacuum behind them. Grease, crumbs, and moisture collect under refrigerators and stoves.
- Check under the sink for leaks. Even small drips create humidity that attracts roaches and silverfish. Replace worn washers and tighten connections.
- Inspect pantry shelves for shed skins, webbing, or larvae. Discard any infested packages and clean shelves with soapy water.
Structural fixes:
- Caulk gaps where plumbing enters walls. A ¼-inch gap is plenty for a mouse.
- Install mesh screens (⅛-inch hardware cloth) over floor drains and air vents. According to Angi, homeowners often overlook drain access points when sealing kitchens against pests.
- Replace damaged door sweeps and ensure the threshold creates a tight seal.
Basement, Attic, and Garage Defense
These areas are prime real estate for pests seeking shelter. They’re less trafficked, often cluttered, and provide direct access to wall voids and structural members.
Basement strategies:
- Control moisture with a dehumidifier. Keep relative humidity below 50% to discourage mold, silverfish, and centipedes.
- Seal foundation cracks with hydraulic cement or polyurethane sealant rated for masonry. Inspect annually, especially after freeze-thaw cycles.
- Store items on shelving units, not directly on the floor. Cardboard boxes attract roaches and provide nesting material for rodents. Use plastic totes with snap lids instead.
- Check window wells for debris and install covers to prevent pests from entering through basement windows.
Attic tactics:
- Inspect soffit vents, ridge vents, and gable vents for gaps or damaged screens. Squirrels, bats, and wasps exploit even small openings.
- Look for signs of rodent activity: droppings, gnawed wiring, or shredded insulation. If found, set traps and identify entry points before sealing them. Never seal an active entry without confirming all animals have exited.
- Ensure attic ventilation is adequate. Poor airflow traps heat and moisture, creating ideal conditions for wood-destroying insects.
Garage guidelines:
- Keep garage doors closed when not in use. An open door is an invitation.
- Store pet food, birdseed, and lawn fertilizer in metal bins. Rodents will chew through plastic to reach food sources.
- Hang tools and equipment on pegboards or hooks. Cluttered floors provide hiding spots and harborage.
- Check weatherstripping on garage doors twice a year. Gaps at the bottom let in insects, spiders, and even small snakes.
- Apply a perimeter treatment along the garage floor where the walls meet the slab. This creates a barrier against crawling insects entering from outside.
Homeowners with pets should consider options that balance effectiveness with safety, similar to approaches used by pet-friendly pest professionals.
Seasonal Pest Control Tasks for Year-Round Protection
Pest pressure changes with the seasons. Matching tasks to the calendar keeps problems from gaining a foothold.
Spring (March–May):
- Inspect exterior for winter damage. Check foundation vents, crawl space access doors, and roof penetrations. Repair or replace damaged screens.
- Clean gutters and downspouts. Clogged gutters create standing water that attracts mosquitoes and provides moisture for carpenter ants.
- Trim vegetation. Keep shrubs at least 18 inches from the foundation and prune tree branches that touch the roof. Overhanging limbs are bridges for rodents and insects.
- Apply a perimeter treatment around the foundation. Use a liquid residual insecticide labeled for outdoor use, focusing on areas where siding meets the foundation.
Summer (June–August):
- Monitor for active nests. Wasps, hornets, and yellow jackets build nests in eaves, attics, and underground. Treat nests at dusk when insects are less active. Aerosol sprays with a 15–20 foot range keep you at a safe distance.
- Inspect window and door screens. Patch small tears with screen repair tape: replace screens with larger damage.
- Check for standing water weekly. Mosquitoes can breed in as little as ½ inch of water. Empty bird baths, plant saucers, and clogged gutters.
- Seal cracks in driveways and sidewalks. Ants nest in expansion joints and pavement cracks: fill them with sand or polymeric jointing compound.
Fall (September–November):
- Seal entry points before rodents seek winter shelter. Focus on areas where utilities enter the home, garage door gaps, and foundation cracks. Use copper mesh or steel wool to stuff larger openings before applying foam sealant, rodents won’t chew through metal.
- Store firewood at least 20 feet from the house and elevate it on a rack. Stacked wood against the foundation invites termites, carpenter ants, and spiders.
- Clean and inspect the chimney. Cap the flue with a spark arrestor screen (⅝-inch mesh) to prevent birds, squirrels, and raccoons from entering.
- Remove leaf litter and mulch from foundation plantings. Thick layers provide harborage for insects and moisture against the siding.
Winter (December–February):
- Check indoor spaces for overwintering pests. Ladybugs, boxelder bugs, and cluster flies congregate in attics and wall voids. Vacuum them up rather than spraying: dead insects attract carpet beetles.
- Monitor stored food areas. Pantry pests remain active indoors year-round. Rotate stock and inspect packaging.
- Inspect stored items in basements and garages. Look for nesting material (shredded paper, fabric, insulation) that indicates rodent activity.
- Service mechanical equipment. Clean dryer vents and HVAC filters. Lint buildup and dirty filters reduce efficiency and can harbor pests.
Resources like HomeAdvisor offer regional pest calendars that account for climate differences: pest pressure in the Southwest differs significantly from the Northeast.
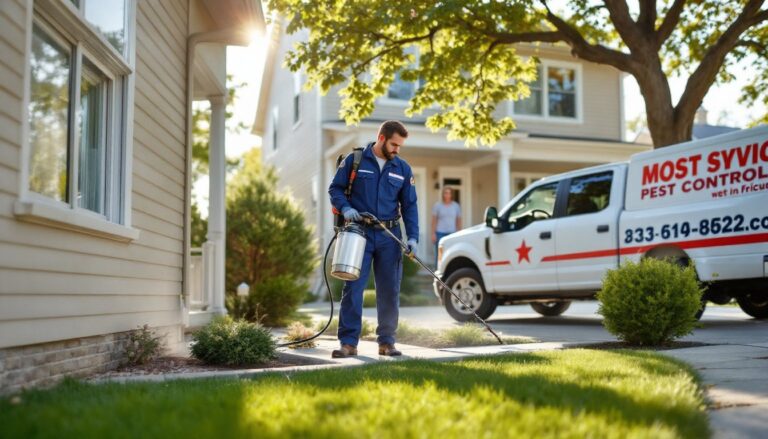
When to Call Professional Help vs. DIY Solutions
Not every pest problem is a DIY project. Some situations require specialized equipment, licensed applicators, or structural repairs beyond typical homeowner skills.
Call a pro when:
- Structural damage is present. Termites, carpenter ants, and wood-boring beetles compromise framing, joists, and sheathing. A professional inspection identifies the extent of damage and whether repairs require a licensed contractor.
- The infestation is widespread. A few ants on the counter? DIY-friendly. Trails of ants throughout multiple rooms, or dozens of roaches appearing nightly? That’s an established colony requiring professional treatment and often multiple service visits.
- Stinging insects pose a danger. Large wasp or hornet nests, especially those inside wall voids or high on the roofline, require protective gear and experience. Allergic reactions to stings can be life-threatening.
- Rodents are in inaccessible areas. If you hear activity inside walls or ceilings but can’t locate entry points, a pest control technician can use inspection cameras and track-and-seal methods.
- The pest is protected or requires special handling. Bats, certain bird species, and some wildlife are protected by federal or state law. Removal and exclusion must follow legal protocols.
- Chemical treatments are needed in sensitive areas. Treating inside kitchen cabinets, around electrical panels, or near HVAC systems requires products and application methods that minimize risk. Licensed applicators have access to restricted-use pesticides and know how to apply them safely.
DIY is appropriate for:
- Isolated incidents. A single mouse, a few ants, or occasional spiders can be managed with traps and exclusion.
- Preventive maintenance. Sealing cracks, replacing weatherstripping, and routine sanitation don’t require professional help.
- Minor infestations caught early. A handful of pantry moths or a small cluster of roaches in one room can often be eliminated with targeted treatments and improved sanitation.
- Non-toxic methods. Diatomaceous earth, bait stations, and mechanical traps are low-risk and effective when used correctly.
Homeowners looking for reliable partners can research options through platforms like Houzz, which includes verified reviews and licensing information for local pest control professionals. For specific situations, such as working with trusted pest services or exploring comprehensive barrier treatments, professional consultation ensures both safety and effectiveness.
Cost context:
DIY supplies, caulk, traps, sprays, typically run $50–$150 for a well-stocked kit. A single professional service call ranges from $100–$300 depending on region and pest type. Quarterly service contracts average $400–$600 annually. Termite treatments or major exclusion work can exceed $1,500. Weigh the scope of the problem, your comfort level with the tools and chemicals involved, and the risk of damage if the problem persists.